
Creating a Show-Stopping Homecoming Mum with Layered Ribbon and Sparkle
Homecoming mums are more than accessories; they are wearable celebrations. A great mum tells a story through color, texture, and personal details, and the ribbon you choose is often the first thing people notice. The right materials can make the design feel full, intentional, and photo-ready without turning it into a tangled bundle of extras.
A well-chosen Homecoming mum ribbon sets the foundation for the entire project. It establishes the main color story, adds movement, and gives smaller accents something to build around. Before you reach for glitter, bells, or trinkets, spend a few minutes thinking about how the ribbon will behave once it is looped, braided, and layered.
Start with a Clear Color Story
Color creates the first impression. Choose two or three dominant shades and one metallic or neutral accent. School colors are the natural starting point, but the best mums often use variations—one deep shade, one bright shade, and a soft metallic—rather than repeating the same flat tone. This approach adds depth while keeping the overall design easy to read.
If the mum is for a person with a bold personality, contrast can be your best friend. Pair a dark base with bright highlights, or use white and silver to separate busy patterned accents. For a softer look, keep values close together and let texture do more of the visual work.
Build the Base Before You Add Glitter
Structure matters as much as sparkle. Begin with a sturdy backing and arrange the largest loops first. Step back frequently to check balance. A common mistake is adding small decorations before the main shape feels complete, which can make the finished piece look crowded rather than layered.
Design tip: Treat the mum like a composition. Give the eye a clear path from the center outward, and repeat key colors at least twice so the design feels connected.
Add Sparkle with Control
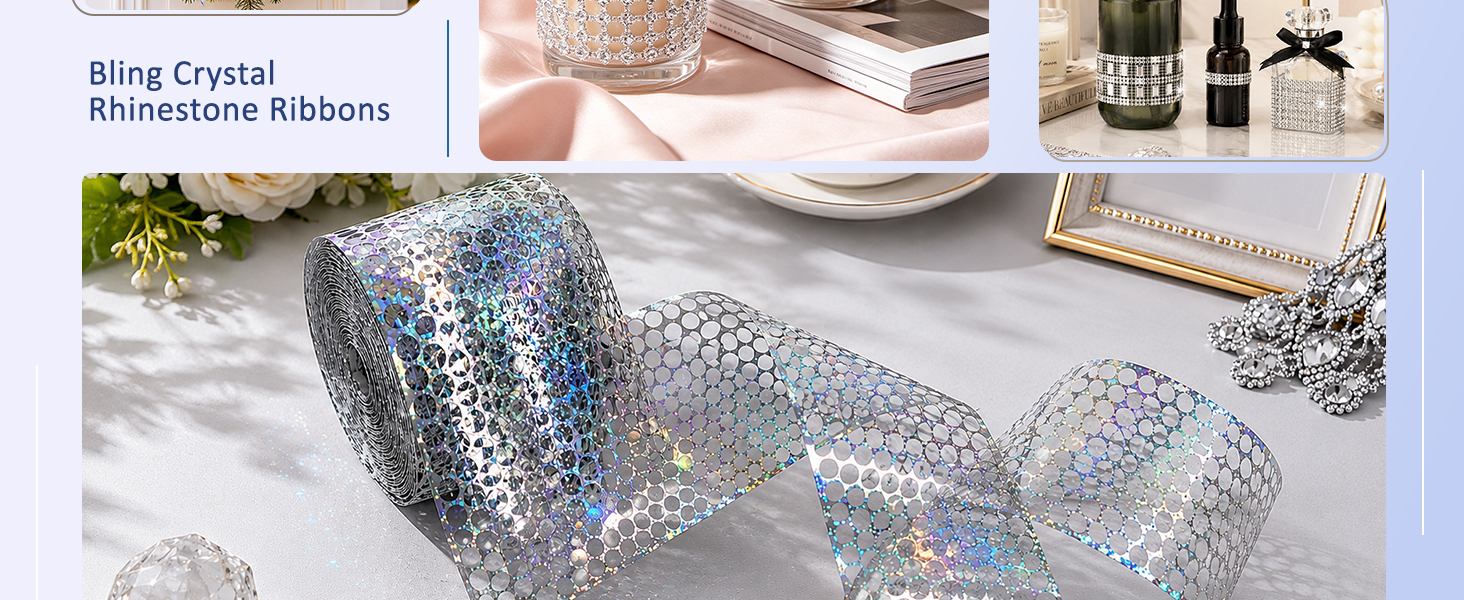
Adding Rhinestone ribbon brings light and movement to the design, especially when it is placed near focal points. Use it to outline a central letter, highlight a loop, or create a sparkling band between larger ribbon sections. A little shine goes a long way; the goal is to guide attention, not overwhelm it.
Balance Shine and Matte Textures
Contrast keeps sparkle from looking flat. Mix glossy accents with matte ribbon, mesh, or fabric for a richer finish. If every surface reflects light, the mum can look busy in photos. A matte base with selective shine usually photographs better and feels more polished.
Layer for Depth, Not Clutter
Layering Decorative ribbon is where personality starts to show. Think in terms of foreground, middle ground, and background. Larger loops sit behind smaller accents, while tiny details sit on top. This simple order creates depth without making the design feel heavy.
- Anchor loops first. Secure the biggest shapes before adding smaller accents.
- Vary widths. Combine wide, medium, and narrow strips for rhythm.
- Repeat accents. Use the same color or texture in two or three places to tie the design together.
Practical Assembly Tips
- Plan the back. A neat reverse side makes the mum easier to wear and less likely to snag clothing.
- Secure knots tightly. Ribbon can shift during a busy school day, so double-check every attachment point.
- Test the weight. Hold the mum up before finishing; if it pulls or droops, redistribute the heavier decorations.
Personal details make the difference. Names, initials, charms, and small handwritten tags can turn a beautiful design into a keepsake. Just keep the placement intentional. Place personal elements where they can be seen clearly, and avoid covering the strongest ribbon loops.
Care, Storage, and Reuse
After the event, store the mum flat or hang it in a protected space. Avoid pressing heavily decorated sections, and keep rhinestones away from rough surfaces that can scratch the finish. A labeled box or garment bag helps preserve the shape for future displays, photos, or younger siblings who may want inspiration later.
Final Thoughts
The best mums feel balanced, personal, and confident. Start with a strong base, choose colors with purpose, and let sparkle support the design rather than dominate it. When the ribbon loops, textures, and accents work together, the finished piece becomes more than a school tradition—it becomes a memorable keepsake that looks just as good in photos as it does in person.