
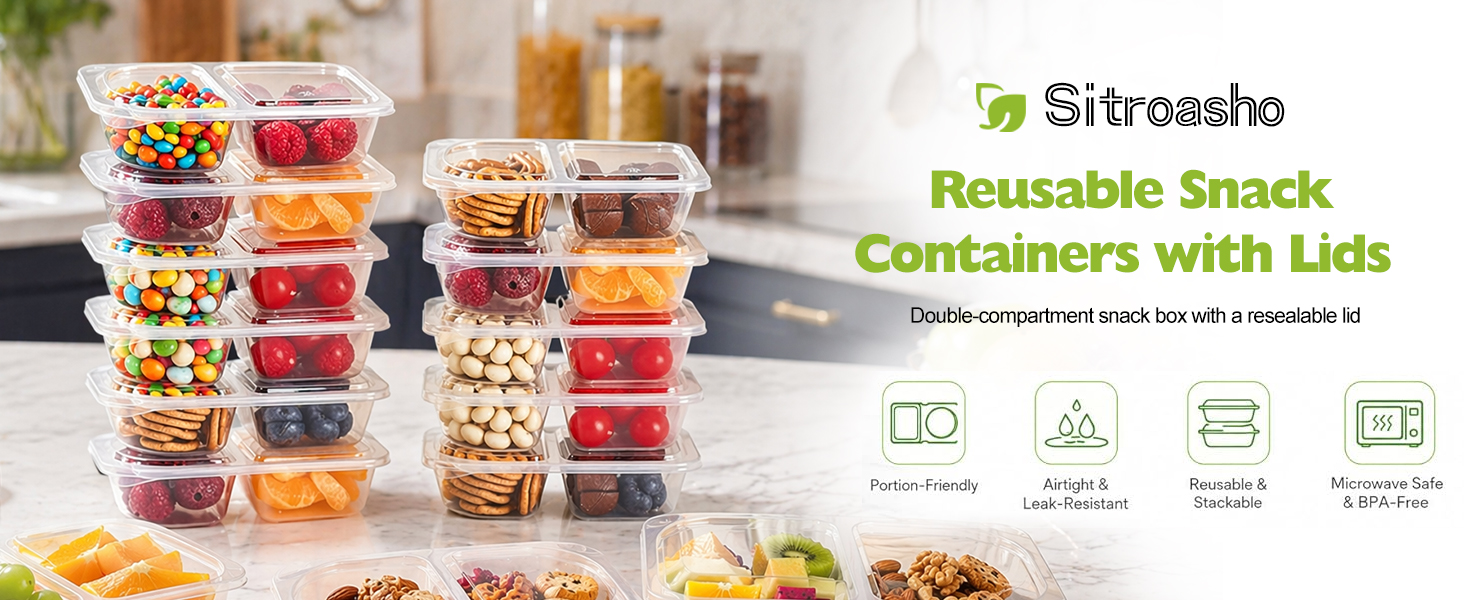
Smart Snack Storage: Choosing Snack Containers, Lidded Boxes, and Food Storage Containers
A busy kitchen has a quiet rhythm: doors open, shelves shift, and someone reaches for a quick bite between meetings, school runs, and late-night tasks. The right snack containers can make that rhythm smoother. Instead of crushed crackers, stale chips, or a cabinet full of half-open bags, a simple container system keeps portions visible, fresh, and easy to grab. The result is not just a tidier shelf; it is a more efficient way to shop, prep, and enjoy everyday food.
Why the Right Container Changes Your Daily Routine
Storage is really a daily habit. A good container should be easy to open, easy to close, and easy to see through. When snacks are stored in clear, stackable boxes, people are more likely to eat what is already on hand and less likely to buy duplicates. That small change can reduce waste and save money over time.
Consider the difference between a torn bag of granola and a sealed container of granola. One spills across the shelf; the other stays ready for yogurt, oatmeal, or a quick handful. The same logic applies to dried fruit, nuts, cereal, pretzels, and homemade trail mix. The container becomes a small piece of kitchen infrastructure, not just a plastic box.
- Visibility: clear sides help you spot what needs restocking.
- Portion control: smaller boxes make it easier to pack lunch or set out a snack.
- Freshness: a secure seal protects texture and flavor.
- Stackability: matching shapes use vertical space instead of spreading across counters.
Snack Containers With Lids: Small Feature, Big Difference
The lid is often the most important part of the product. Snack containers with lids do more than cover food; they create a barrier against air, moisture, and nearby odors. A lid that clicks into place can keep crackers crisp and nuts fresh, while a loose lid can turn a shelf into a crumb trail. Look for lids that are easy to align, easy to clean, and sturdy enough for repeated opening and closing.
Not all lids are equal. Some are designed for dry goods, while others are better for leftovers or liquids. For snack storage, a simple snap lid or twist lid is usually enough. If children will use the containers, test whether the lid is comfortable for smaller hands. If the containers will travel, choose a lid that stays put in a bag or lunchbox. The best lid is the one you will actually use every day without frustration.
A container only works when it is used. If a lid is fussy or a box is hard to stack, it will soon be pushed to the back of the cabinet. Choose practical over perfect.
Food Storage Containers for More Than Snacks
Although snack boxes are the stars of quick grabbing, food storage containers can support the whole kitchen. The same design principles apply: clear visibility, dependable seals, and shapes that work together. A set that mixes small, medium, and large sizes can handle cereal, pasta, flour, coffee, tea bags, and baking supplies. In a pantry, matching containers create a calm visual line and make inventory easier to scan.
Think in zones. Keep small snack containers at eye level for quick access. Place larger food storage containers on lower shelves for bulk items. Use a labeled basket or bin for loose packets, and reserve a single drawer or shelf for lunchbox add-ons such as cheese crackers, dried fruit, and granola bars. This zoning approach prevents the dreaded “snack avalanche” when someone opens a cabinet door.
Materials That Make a Difference
Plastic, glass, and stainless steel each have a place. Plastic is lightweight and less likely to break in lunchboxes. Glass is excellent for pantry visibility and does not hold onto strong odors, but it is heavier. Stainless steel is durable and opaque, which is useful for light-sensitive items but less helpful when you want to see what is inside. The best choice depends on where the container will live and who will use it.
Organization Ideas That Stick
- Decant dry snacks into containers and keep the original cooking instructions in a note if needed.
- Use one shape family so boxes stack neatly and lids can be swapped without guesswork.
- Label the bottom with a date for homemade mixes and trail blends.
- Keep a small “grab box” of ready-to-go snacks for busy mornings.
Cleaning and Care Without the Extra Work
Easy care keeps a system alive. Check whether lids are top-rack dishwasher safe and whether containers are suitable for the freezer or microwave. Even if you hand wash, pay attention to corners and seal grooves where crumbs can gather. Let containers dry completely before refilling them, especially if you are storing crackers, cereal, or other items that lose crunch quickly. A few extra seconds of drying can prevent stale texture later.
Final Thoughts
Good storage does not need to be complicated. Start with a few useful sizes, choose lids that feel reliable, and keep the most-used snacks within reach. Whether you are organizing a pantry, packing lunches, or simply trying to keep crackers crisp, the right containers can turn daily chaos into a small, satisfying system. With clear boxes, secure lids, and a little thoughtful zoning, your kitchen can become easier to use, one snack at a time.