
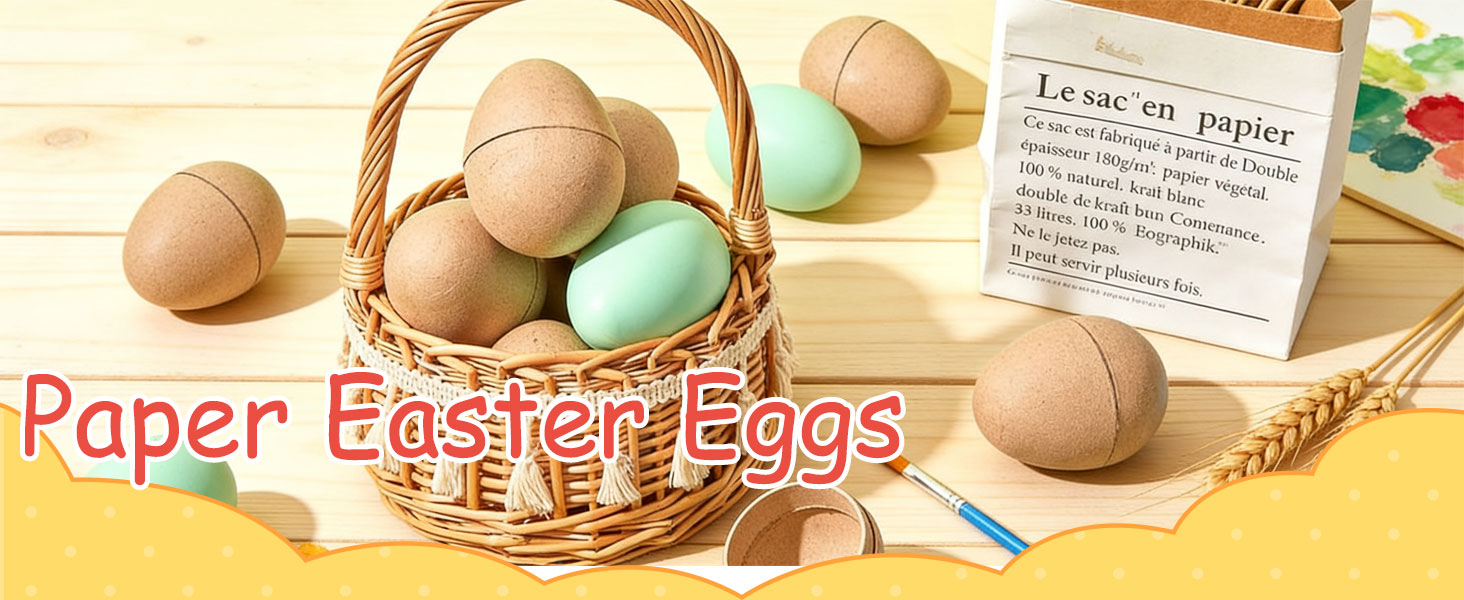
Paper Mache Eggs: A Creative Guide to Paintable Easter Eggs for Crafts
Paper mache eggs are one of the most versatile craft surfaces for Easter creating. They are lightweight, sturdy, and smooth enough to hold paint, glue, glitter, and paper details without the fragility of real eggs. Whether you are planning a classroom activity, a family afternoon, or a handmade holiday display, paintable Easter eggs offer a blank canvas that invites color, pattern, and imagination.
Unlike plastic eggs, paper mache eggs can be sanded, painted, sealed, and displayed year after year. Unlike real eggs, they will not crack at the slightest bump or leave a mess if a craft project becomes overenthusiastic. For anyone searching for Easter eggs for crafts, paper mache is a smart, affordable, and wonderfully forgiving choice.
Why Choose Paper Mache Eggs for Easter Crafts?
Paper mache eggs are hollow, lightweight, and ready for decoration. Their porous surface grips acrylic paint well, while their rounded shape works beautifully for both simple and detailed designs. They are ideal for children because they are easier to handle than fragile eggshells, and they are ideal for adults because they can be transformed into surprisingly sophisticated decorations.
These eggs also work well for group crafts. A pack of blank paper mache eggs can serve a whole party, classroom, or family gathering without the stress of blowing out eggs or protecting real shells. Once painted and sealed, they can be used in baskets, garlands, wreaths, table centerpieces, place cards, and handmade gifts.
What You Need to Get Started
You do not need a long list of supplies to begin. A few basic materials will let you create colorful, professional-looking eggs.
- Blank paper mache eggs
- Acrylic craft paint in assorted colors
- Small and medium paintbrushes
- Sponges for texture and ombre effects
- Pencil for sketching light guidelines
- Paper towels and a water cup
- Mod Podge or a clear acrylic sealer
- Optional: glitter, markers, decoupage paper, lace, and masking tape
If you are buying paintable Easter eggs, check that the surface is smooth and free of loose paper seams. A quick base coat of white or cream paint can help bright colors appear more vivid and even.
Preparing Your Paintable Easter Eggs
Before painting, inspect each egg and gently smooth any rough spots with fine sandpaper. Wipe away dust with a dry cloth. For easier painting, place each egg on a wooden skewer, a small cup, or an egg carton so it can dry without smudging. A base coat is optional, but it gives the final design a cleaner finish.
Quick tip: Paint one half of the egg, let it dry, then turn it and paint the other half. This simple method prevents fingerprints and keeps your design crisp.
Simple Painting Techniques That Look Beautiful
Start with solid colors for a classic Easter look. Pastel pinks, mint greens, pale yellows, and soft blues are always popular, but bold jewel tones can make a striking modern display. For extra texture, use a sponge to dab on lighter and darker shades for a soft ombre effect.
Patterns are easy to create with a little planning. Use a pencil to lightly mark stripes, dots, or chevrons. Masking tape can help create clean geometric lines, while the eraser end of a pencil makes perfect polka dots. Fine brushes are useful for tiny flowers, leaves, and faces.
Decoupage is another excellent option. Tear small pieces of decorative paper, apply them with Mod Podge, and smooth them over the egg’s surface. This technique creates a vintage, handmade look that works beautifully for Easter eggs for crafts and seasonal displays.
Creative Paper Mache Egg Craft Ideas
1. Floral Easter Eggs
Paint a soft background, then add tiny daisies, leaves, or rosebuds with a fine brush. Floral eggs look lovely in a basket or arranged on a mantel with fresh spring branches.
2. Metallic and Marbled Designs
For a more elegant finish, use metallic gold, silver, or copper accents. Marbled effects can be created by swirling two or three paint colors together with a toothpick before the paint dries.
3. Storybook Eggs
Turn paper mache eggs into tiny characters by painting faces, ears, or simple animal features. These are especially fun for children and can become part of an Easter story or tabletop scene.
4. Nature and Woodland Eggs
Use earthy greens, browns, and creams, then add leaf prints, tiny mushrooms, or simple branch patterns. These designs suit a rustic spring table and pair well with natural materials such as twine and moss.
Tips for Painting with Kids
Set up a washable tablecloth, provide smocks or old shirts, and keep paint pots small to avoid spills. Encourage children to choose one or two colors and one simple technique, such as dots, stripes, or sponge painting. Paper mache eggs are sturdy enough for small hands, but they still need a little care while drying.
Use washable acrylic paint for younger crafters, and keep a damp cloth nearby for quick cleanups. Let each stage dry completely before adding details. This patience makes the final result more colorful and less muddy.
Finishing and Displaying Your Easter Eggs
Once your designs are dry, seal each egg with a matte or gloss clear finish. This protects the paint and makes the eggs easier to handle. Display them in a woven basket, hang them from a spring garland, or arrange them on a tray with candles and fresh flowers. Painted paper mache eggs also make thoughtful handmade gifts when tucked into small boxes or attached to place cards.
Final Thoughts
Paper mache eggs bring together creativity, durability, and the joy of Easter crafting. They are forgiving enough for beginners, flexible enough for experienced makers, and sturdy enough to become part of your holiday traditions. With a few paints, brushes, and a little imagination, paintable Easter eggs can become colorful keepsakes that brighten every spring celebration.